Scope
This procedure outlines the steps for editing and printing labels in Metadata Services using LIBstick.
For detailed instructions for setting up and using LIBstick, see LIBstick for label printing with Alma.
Contents
- Installing the Google Chrome extension for LIBstick
- Accessing LIBstick board
- Selecting LIBstick label template
- Reviewing and editing labels
- Removing and duplicating labels
- Moving and reordering labels
- Managing boards
- Printer setting requirements
Installing the Google Chrome extension for LIBstick
- Go to the Chrome Web Store.
- Search for LIBstick.
- Click on the LIBstick icon.
- Click on Add to Chrome.
- From the pop-up message, click on Add Extension.
- Log out of Alma and log back in so that Alma recognizes the extension and displays the Print in LIBstick button.
- The first time a label is sent to LIBstick, a pop-up message about configuring the LIBstick URL will appear. Click on the link to the URL: https://libstick.org/berkeley
Accessing LIBstick board
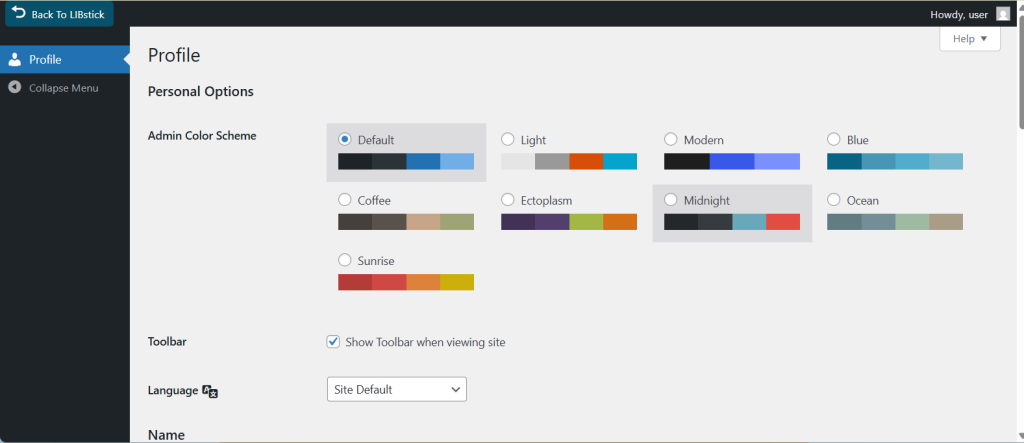
If the profile screen displays instead of the LIBstick board, click on Back To LIBstick in the upper left corner.
Selecting LIBstick label template
- For monographs in Metadata Services, use label template: For Spine Labels
- To switch the template:
- In the LIBstick menu, click on Design templates.
- Choose the appropriate template.
Reviewing and editing labels
All labels should be reviewed before printing.
- To edit the label, hover and click on the pencil icon.
- In the Edit text box in the left menu panel, edit the label as appropriate.
- Click on the Update button at the bottom of the panel to push the changes to the label.
Removing and duplicating labels
- To remove a label from the board, hover and click on the trashcan icon.
- To duplicate a label, hover and click on the +1 icon.
- Additionally, make multiple copies of a label by clicking on the vertical ellipsis and dragging the green dot to choose the amount of copies. Then, click on the Go button.
Moving and reordering labels
- To move a label, click and drag it to the desired spot.
- If a label is dropped on top of another label, LIBstick will move the other label to the vacated spot.
Managing boards
Clear the board after labels are printed and reviewed.
- To clear the board, close the LIBstick window in the browser.
- To keep LIBstick open and clear the board, do the following:
- Click on the ellipsis above the upper right corner of the board.
- Choose Clear board from the menu.
Boards can be saved in order to add more and print later. However, there are limits to how many boards can be used at one time and boards may be deleted by LIBstick managers.
Printer setting requirements
- Select the label printer: Doe-42-Xerox BW printer
- When the print dialog box appears, select: More Settings
- Adjust the following settings:
- Margins: select None
- Scale: select Custom/100%
- Two-sided: uncheck box
By abaron on 11-11-2025